We finally made a date to renovate the bathroom, January 2023. The bathroom and our ensuite are the only two rooms in the house that we haven't changed/renovated since we bought the house over 14 years ago. The house was built in 1998 and it is the original bathroom, so to say it was looking dated, tired and just plain ugly is an understatement.
We did it on as much of a budget that we could as we don't have the funds to splash out on a designer style expensive bathroom, it had to be done quickly and practically as our 3 adult kids share it, that is why we decided to start it in January when Scott is off work for the holidays, then continue in the evenings and weekends when he goes back to work.
There wasn't much storage space for 3 people and our eldest 2 have quite bad eczema and they need a lot of various creams and lotions and they were stored on the ledge of the bath making it look cluttered.
We also decided to get rid of the bath to give more room for a larger open shower instead of the small cubicle we had before.
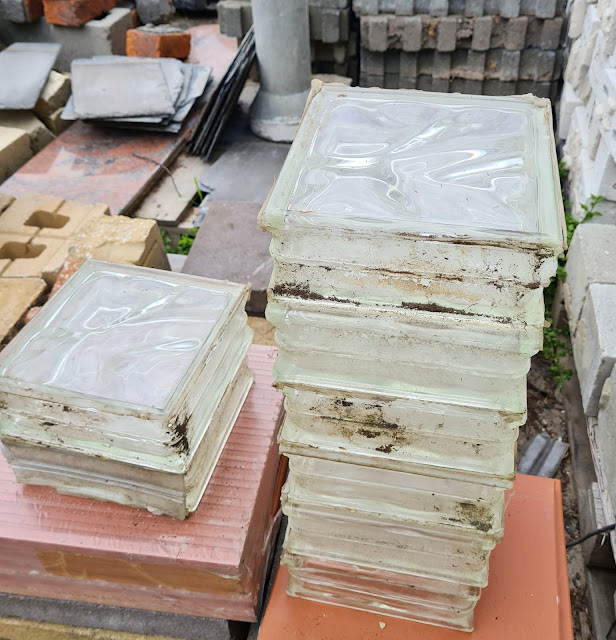
We plan to make a smaller window for more room and privacy. We went looking for a second hand window at the tip shop on 30th December 2022 as we are trying to do as much as possible on a budget, unfortunately we couldn't find anything that would work, as we were leaving the 2nd tip shop I happened to spy some glass blocks that we could use instead of a window.
We bought 12 of them for $35, a big saving.
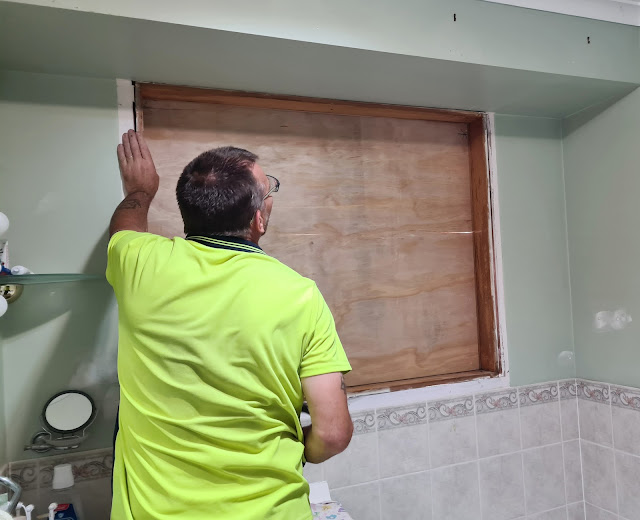
1st January 2023...Whaaat! 2023 already!, anyway, back to the bathroom, Scott started taking out the sill bricks.
2nd January 2023, the window came out.
3rd January Scott cleaned the glass bricks.
Then built in the glass blocks for a window, we didn't want a big window again as we wanted more space to put a storage unit above the sink as we were lacking in storage.
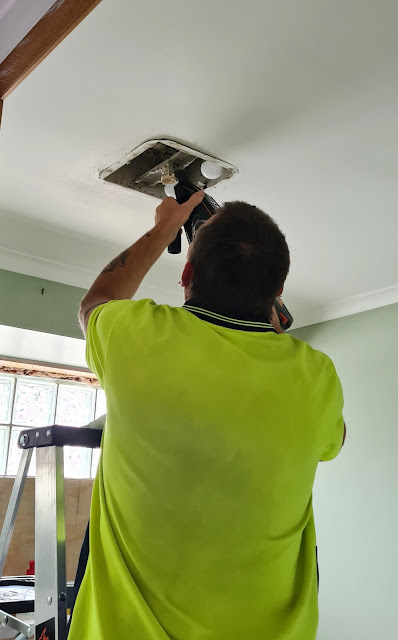
He bought the fan on sale in May last year reduced to $30 from $114
The hole was too big for the new fan so he had to make the hole smaller.
5th January we stopped in past a tile store in the off chance they had some bargains, we spotted these Terrazzo tiles reduced from $492.42 to $158.84 for 794 metres, such a good price we got them.
He had a really difficult time getting the bath out, it had been glued with no more nails to the wooden studs in the wall.
He then took the tiles off the wall.
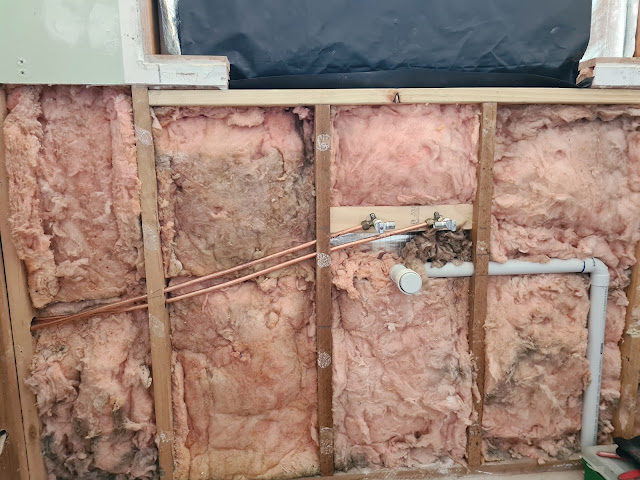
8th January Scott attached pipe extenders to allow the vanity to be positioned in the centre of the wall as apposed to the side.
9th January, he re-rooted the sink waste pipes.
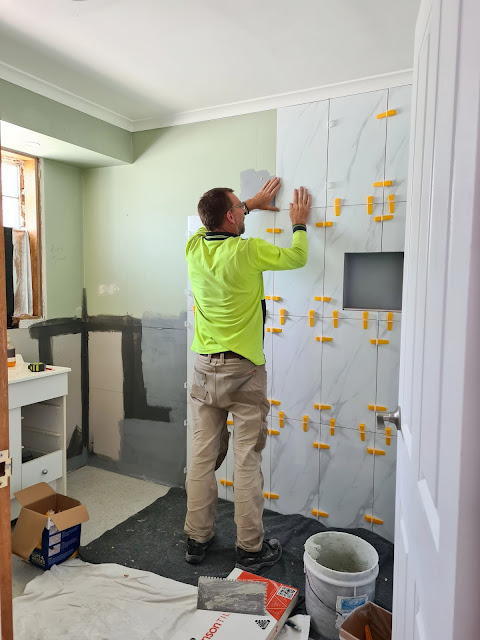
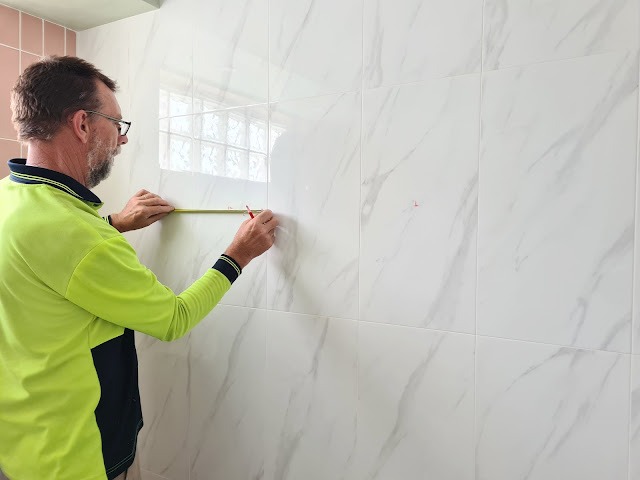
We got these marble wall tiles reduced on 10th January.
I wrote the reno start date on the wall, I wonder when the next time this will be seen and by whom!
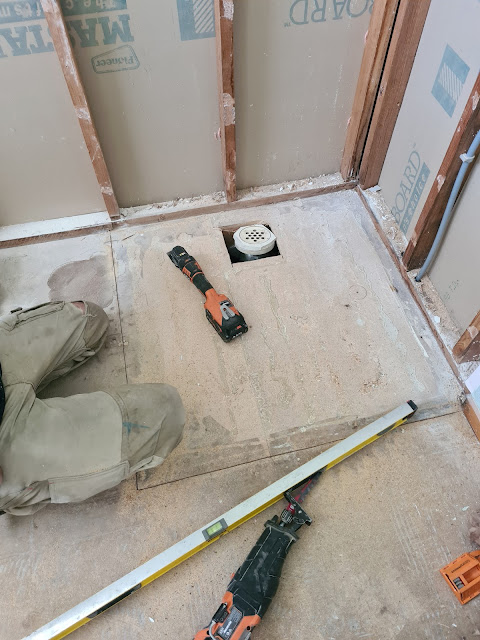
He had a really difficult job getting the shower tray up as it had been stuck to the floor with no more nails.
Leaving a lot of cleaning up of the floor to do.
Everything had to be stored on a table in the kitchen, I also had to remove my ornaments from the hall shelving unit as it is up against the outside of the bathroom wall and I didn't want anything falling off with Scott hammering and drilling.
He made shelving boxes which will be recessed into the wall as I didn't want another hanging shower caddy.
I wanted it to look neat and tidy without compromising space for their shower products, in fact, this way has given them more space, they can have one each!
Waterproofing going on.
Sunday 15th January, the tile spacers came out and the grouting was done.
We got a large shaving mirror cabinet to put above the sink for more storage space.
I wanted to add a splash of warm colour to the room so we went for these pink tiles to add a feature wall and for the niches.
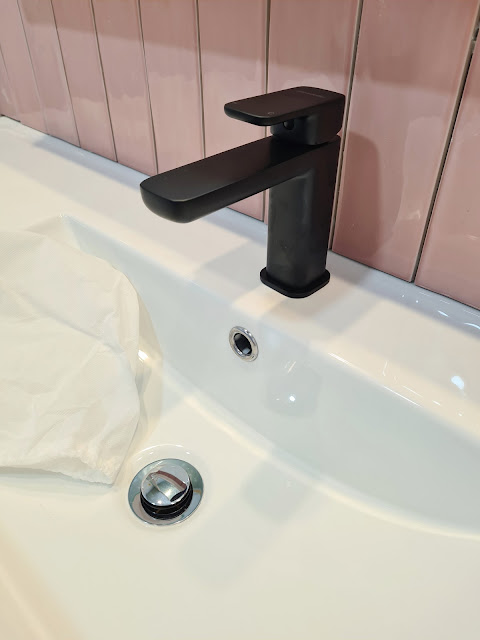
We decided to go for a single black mixer tap and black shower fittings to give it a sleek modern look and it goes well with the black running through the marble wall tiles.
I didn't want towel rails so I opted for double hooks to hang the towels on.
Shower screen in place.
Unfortunately Bunnings didn't have the full amount of pink tiles that we needed to finish the job so we had to put some on order and wait patiently for them to arrive!, in the meantime Scott put waterproof paper over the niche's to save the untiled part getting soaked.
11th February 2023, we finally finished tiling the niche's after waiting for 2 weeks for them to arrive.
Then the black trim was added to finish them off.
Hand towel ring going on.
Below are some before and after photos.
13th February 2023, our bathroom renovation was completed!, and I absolutely LOVE it


















Comments
Post a Comment